6 Google Slides Tips & Tricks
Google Slides allows you to collaboratively create business presentations with others in your organization. With Google’s continuous delivery of new features and functionality, there are always new ways to make your presentations more effective.
Here are some tips and tricks for getting more out of Google Slides.
1. Use Image Masking to Modify the Shapes of Images
You may want to change the shape of an image that’s embedded within a slide. A simple use case is rounding the sharp corners of a photo.
Select an image within a slide and then click on the Mask image arrow to the right of the crop tool. You can then change the image to match any of the available shapes. Start with the Rounded Rectangle shape.
Once the shape has been selected you can use the image handles and/or the crop tool to fine tune the shape.

2. Create a Translucent Text Bar or Circle On Top of an Image
A translucent bar or circle can make text that is overlaid on an image appear more prominently.
Select either the text box or a shape that’s behind text and then click the Fill color tool. Then click Custom.
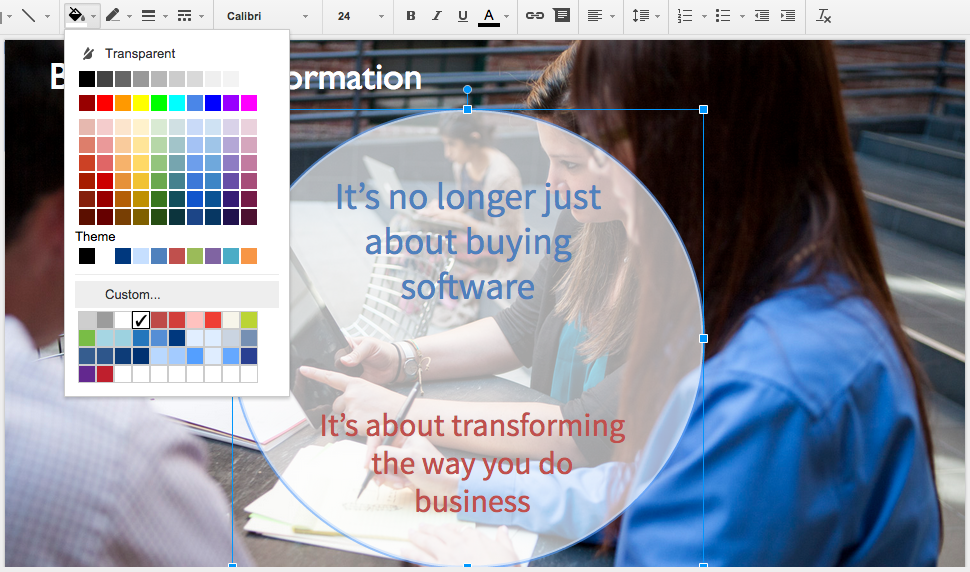
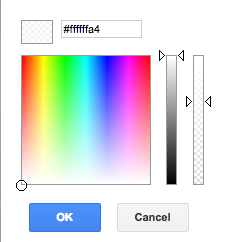 In the custom color box, select an off-white color, such as #ffffffa4, and drag the right-hand transparency slider down by about a third.
3. Add a Drop Shadow to Text
Google Slides does not currently support drop shadows for text or images.
4. Embed Google Slides in Website Pages or Posts
There are times that you might want to embed a Google Slides presentation on a website page or in a blog post.
We first recommend that you create a Google Drive folder called “Published to the Web” and move your presentation to that folder. You’ll know that any Slides presentations in this folder are live documents and that if they are edited, they will be changed for the public too. Here’s an example of an embedded Slides presentation:
WordPress.com has published the steps for embedding a Google Slides presentation (scroll down to the Slides section) in a WordPress post. Note that you’ll want to change the width and height in the iframe code to be the right dimensions for your blog. For the above embed, we are using width=”590″ height=”360″.
Note also that Publish to the Web (for embedding) and Link sharing are two different actions in G Suite. If you want people to be able to view the slides in a browser tab by clicking on the Google Slides logo, make sure to set the Link sharing to On – Anyone with the Link.
5. Upload Your Stock Images to a Google Drive Folder For Shared Access
If you want others within your organization to have easy access to your stock images inventory for inserting into their Slides presentations, you can add the images to a Google Drive folder and then share that folder with others in your organization.
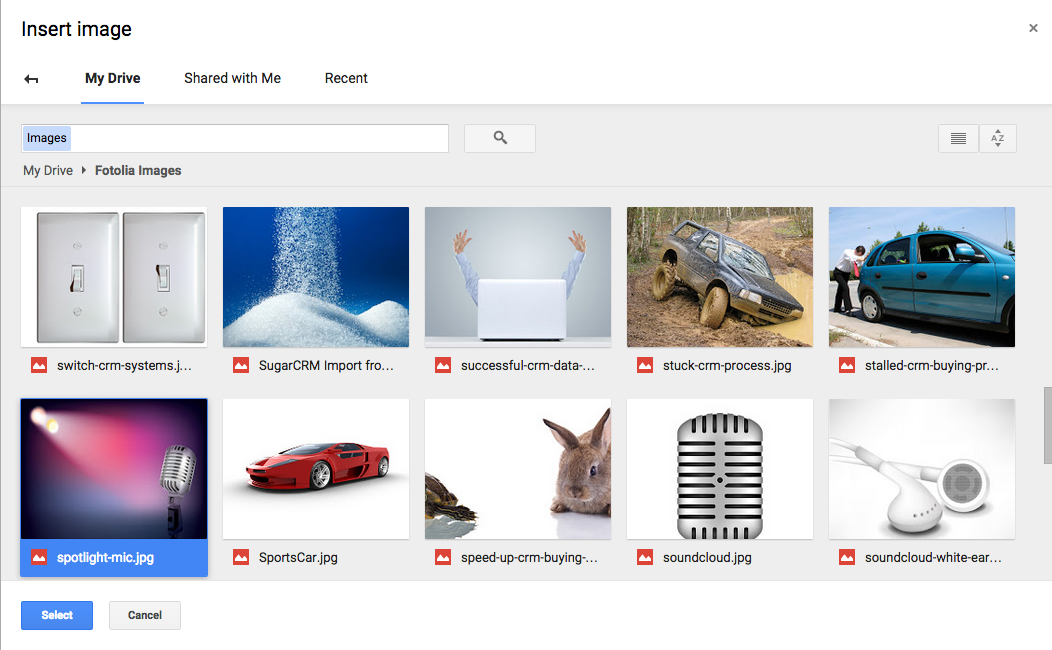
To insert images from a folder, select Insert > Image from the menus or click the Imageicon. Then click on Google Drive.

Navigate to the shared folder that contains the stock images, click on an image and then click the Select button.
6. Present Your Google Slides with AirPlay or Chromecast
Google recently introduced the ability to present your slides from an iPhone/iPad using AirPlay or from an Android device using Chromecast.
If you are in a presentation venue that has a TV connected to Chromecast or to Apple TV, this will allow you to present without the need for a computer or a physical connection to the display.
Here’s a video that shows how to use the Google Slides app with AirPlay from an iPhone in order to cast to a TV. The process for casting with Chromecast is similar.


Comments
Post a Comment